Blog
-
May 18, 2018

Behind The Scenes- Cakesmash
So it’s been over a year since I last blogged and thought I would share some insights into my business and how I do things. Hopefully this will be educational for parent’s and photographers alike. Firstly when booking a cakesmash with myself, people will always ask, what does that include, what do I get etc?? Well what you will get is a guaranteed an amazing experience to bring in your child’s birthday. Each session is specially designed and unique to the last. I’m perhaps the only photographer in Belfast if not Northern Ireland doing custom made cakes in any theme. You won’t be just another cake smasher with me.
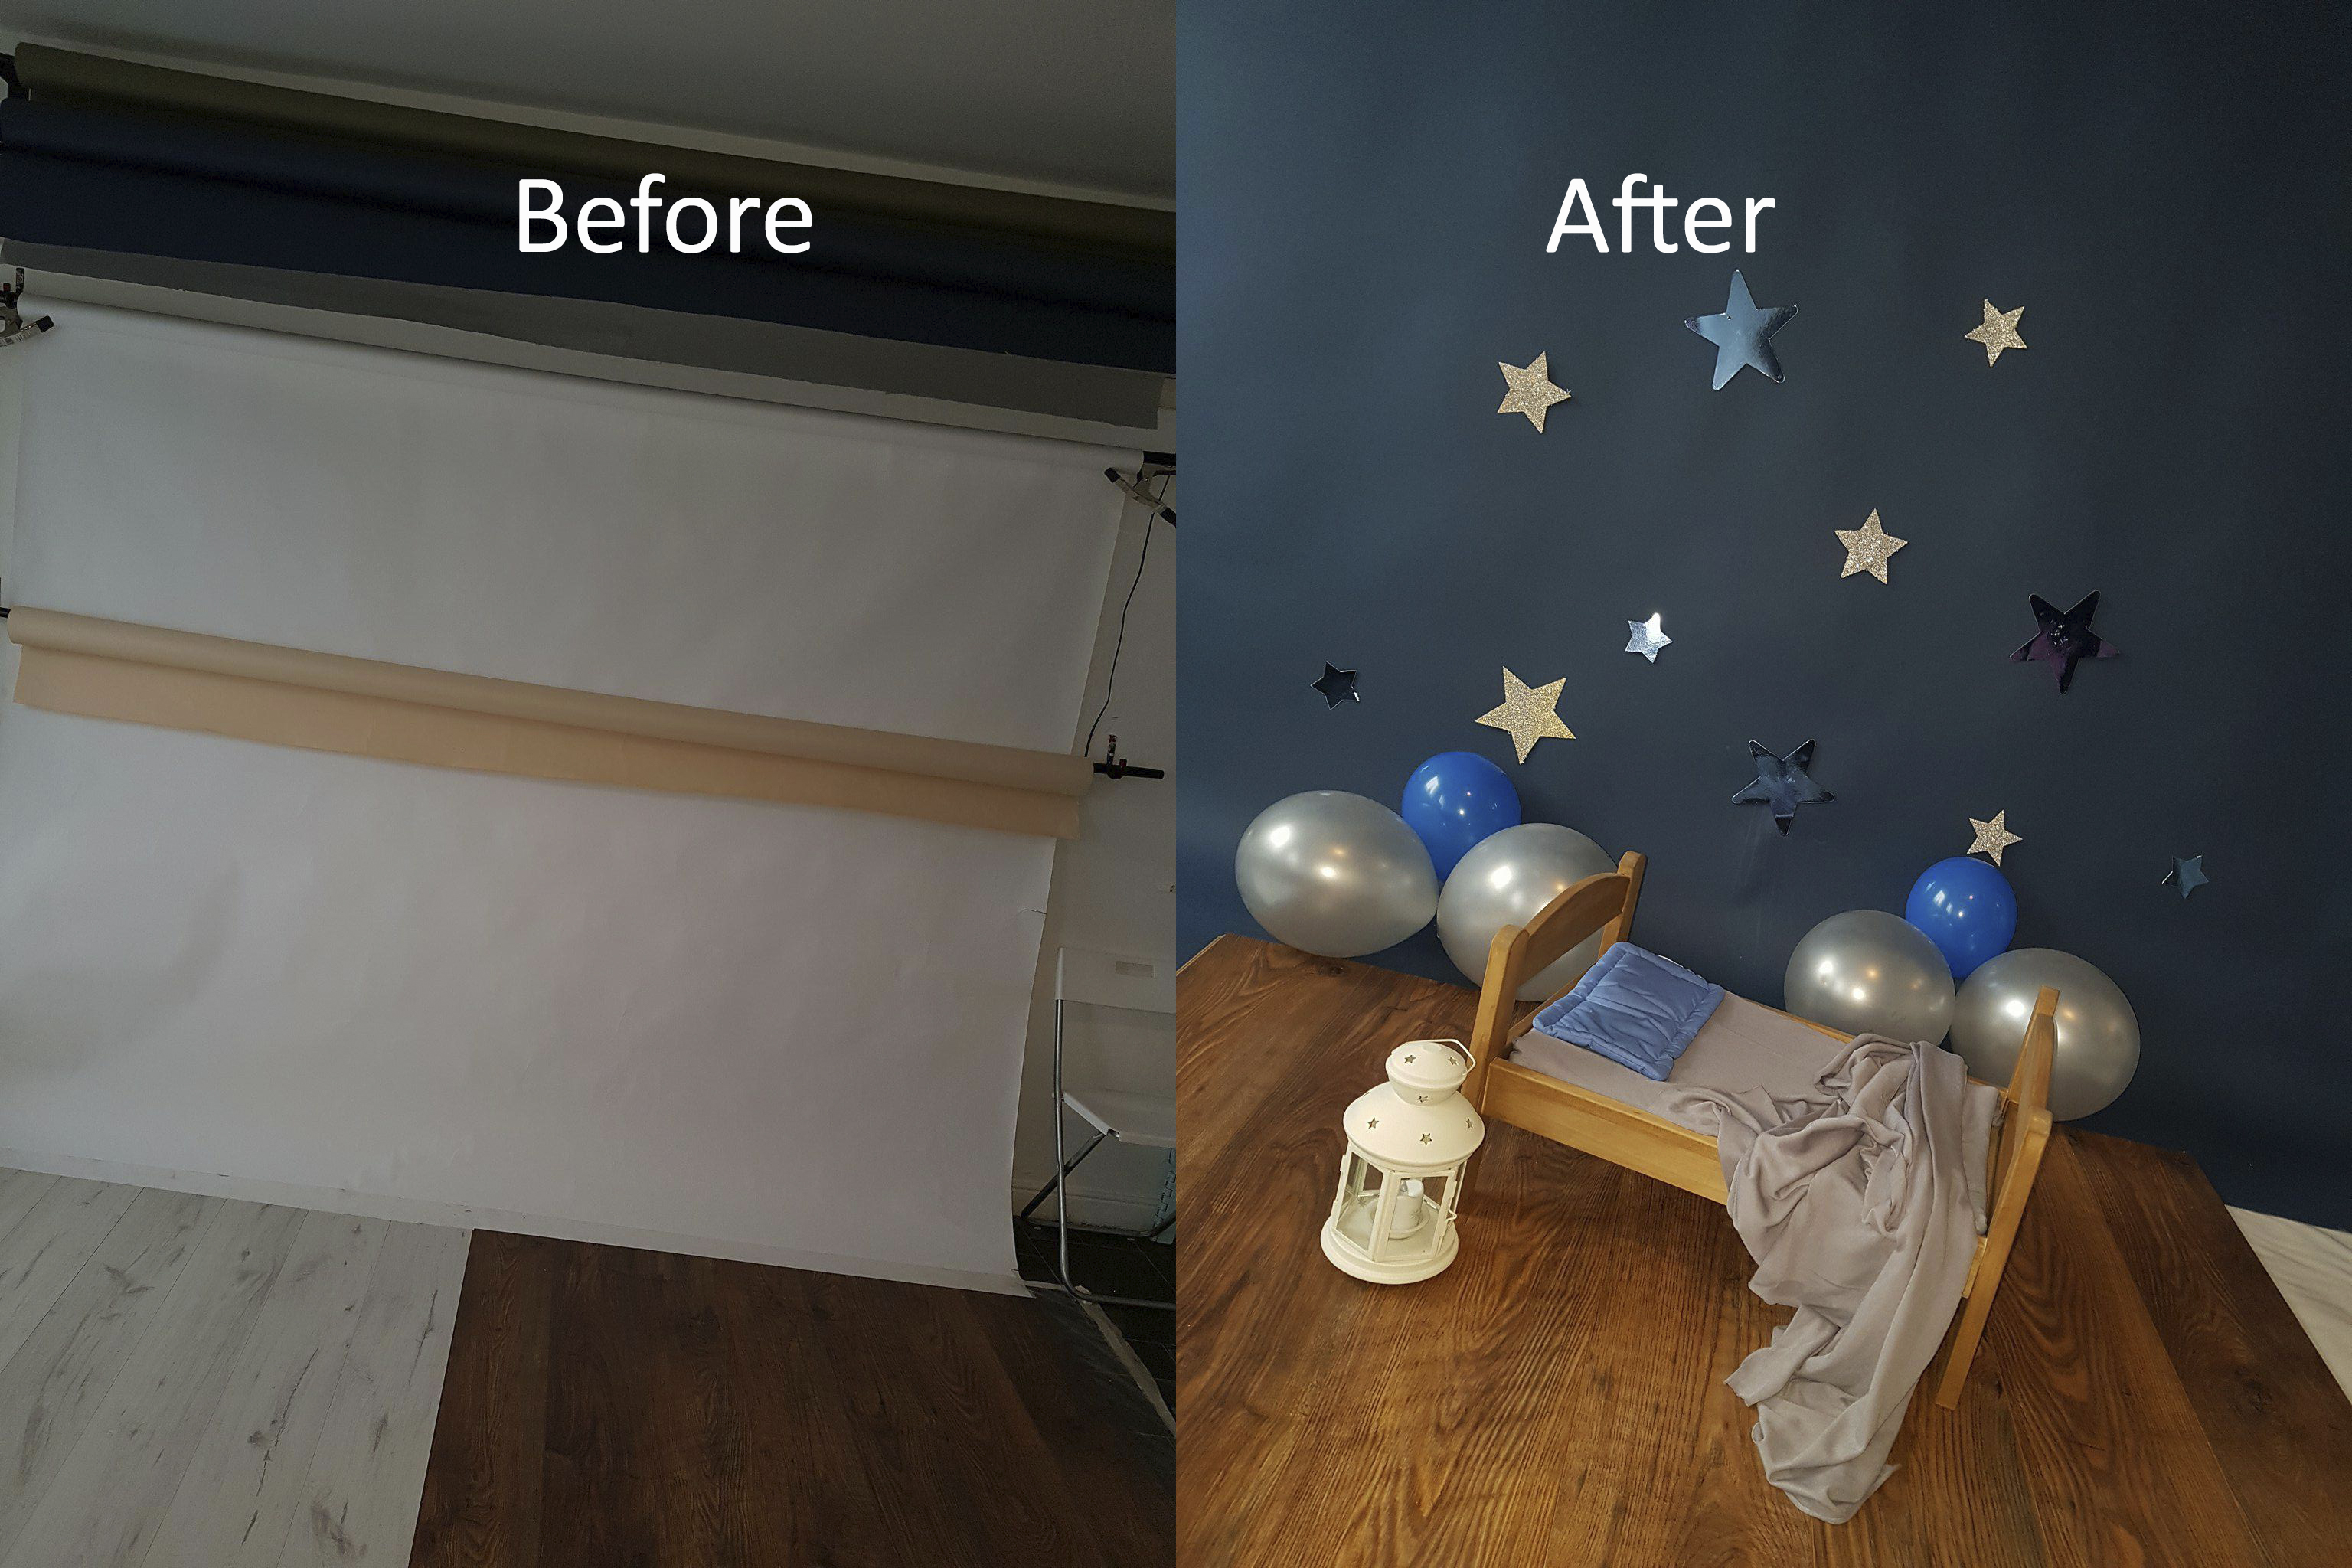
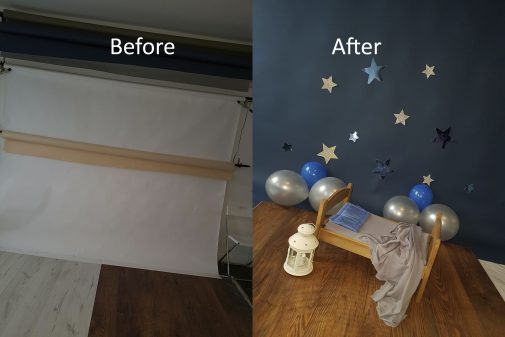
Often people don’t realize the work goes into a cake shoot, so let’s explain. The day before your shoot I will go to studio and set up for the following day, this can take anything to up to an hour depending on the theme. Then I will return home to bake and prepare the cake. So that’s a full day gone one the prep already. Here’s some behind the scenes of a recent cake I made.
*TOG TIP* Link for backdrop remote system (will make your live so much easier)
https://seamlessphoto.com/photo-equipment/3-roller-motorised-background-support-system.html
So for this theme, Dad asked for In the Night Garden. I had no clue who he was…but after researching the show, I decided on this first scene. This is another aspect of being a photographer, research and knowing what your clients want. I knew I wanted to make the cake navy, like the ocean at night. Easier said than done. Here’s some images to show what I used making this cake.
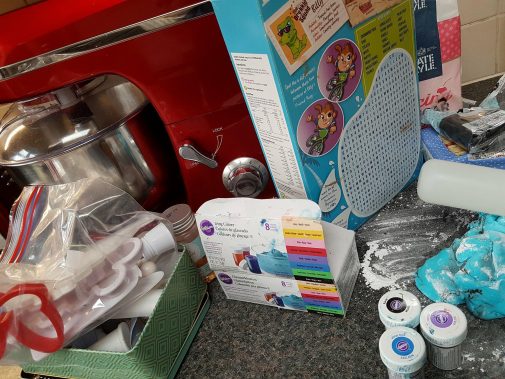
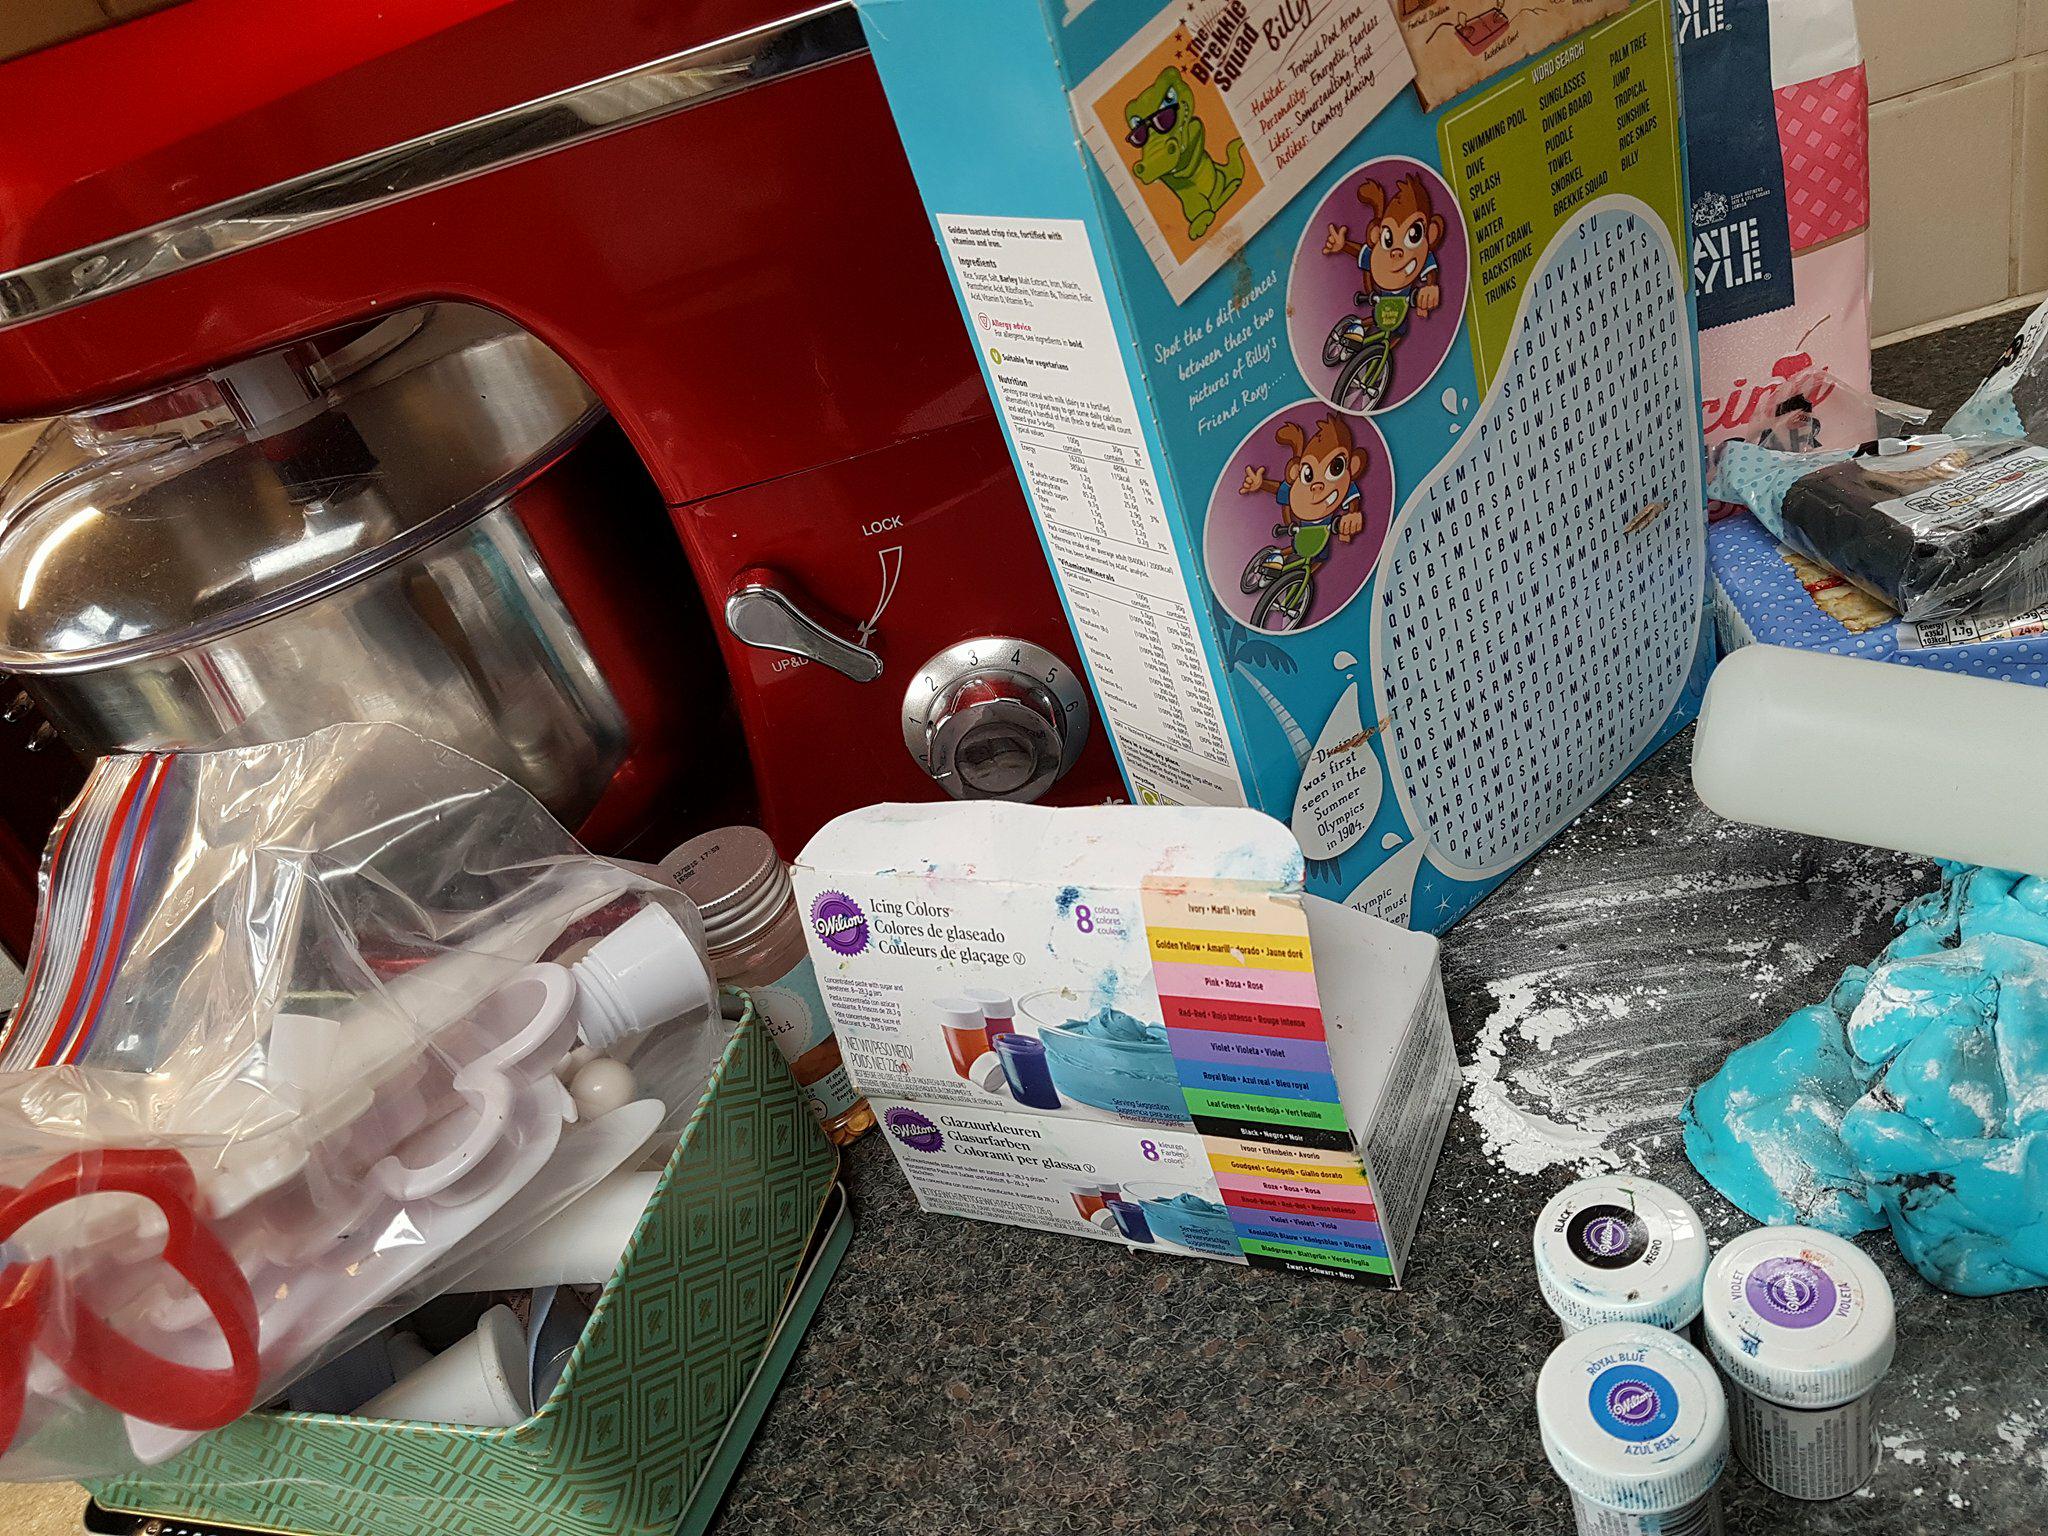
What you will need:
A large base cake, I used 8”x 2 sponge for this.
6”x 2 sponges for middle
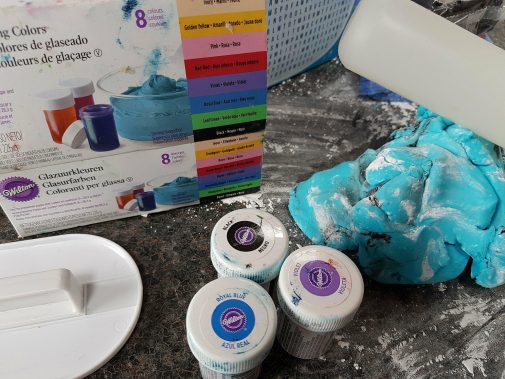
Icing sugar, Ready to roll icing, Wilton food colors, Rice krispies for boat and various cutters and baking tools.
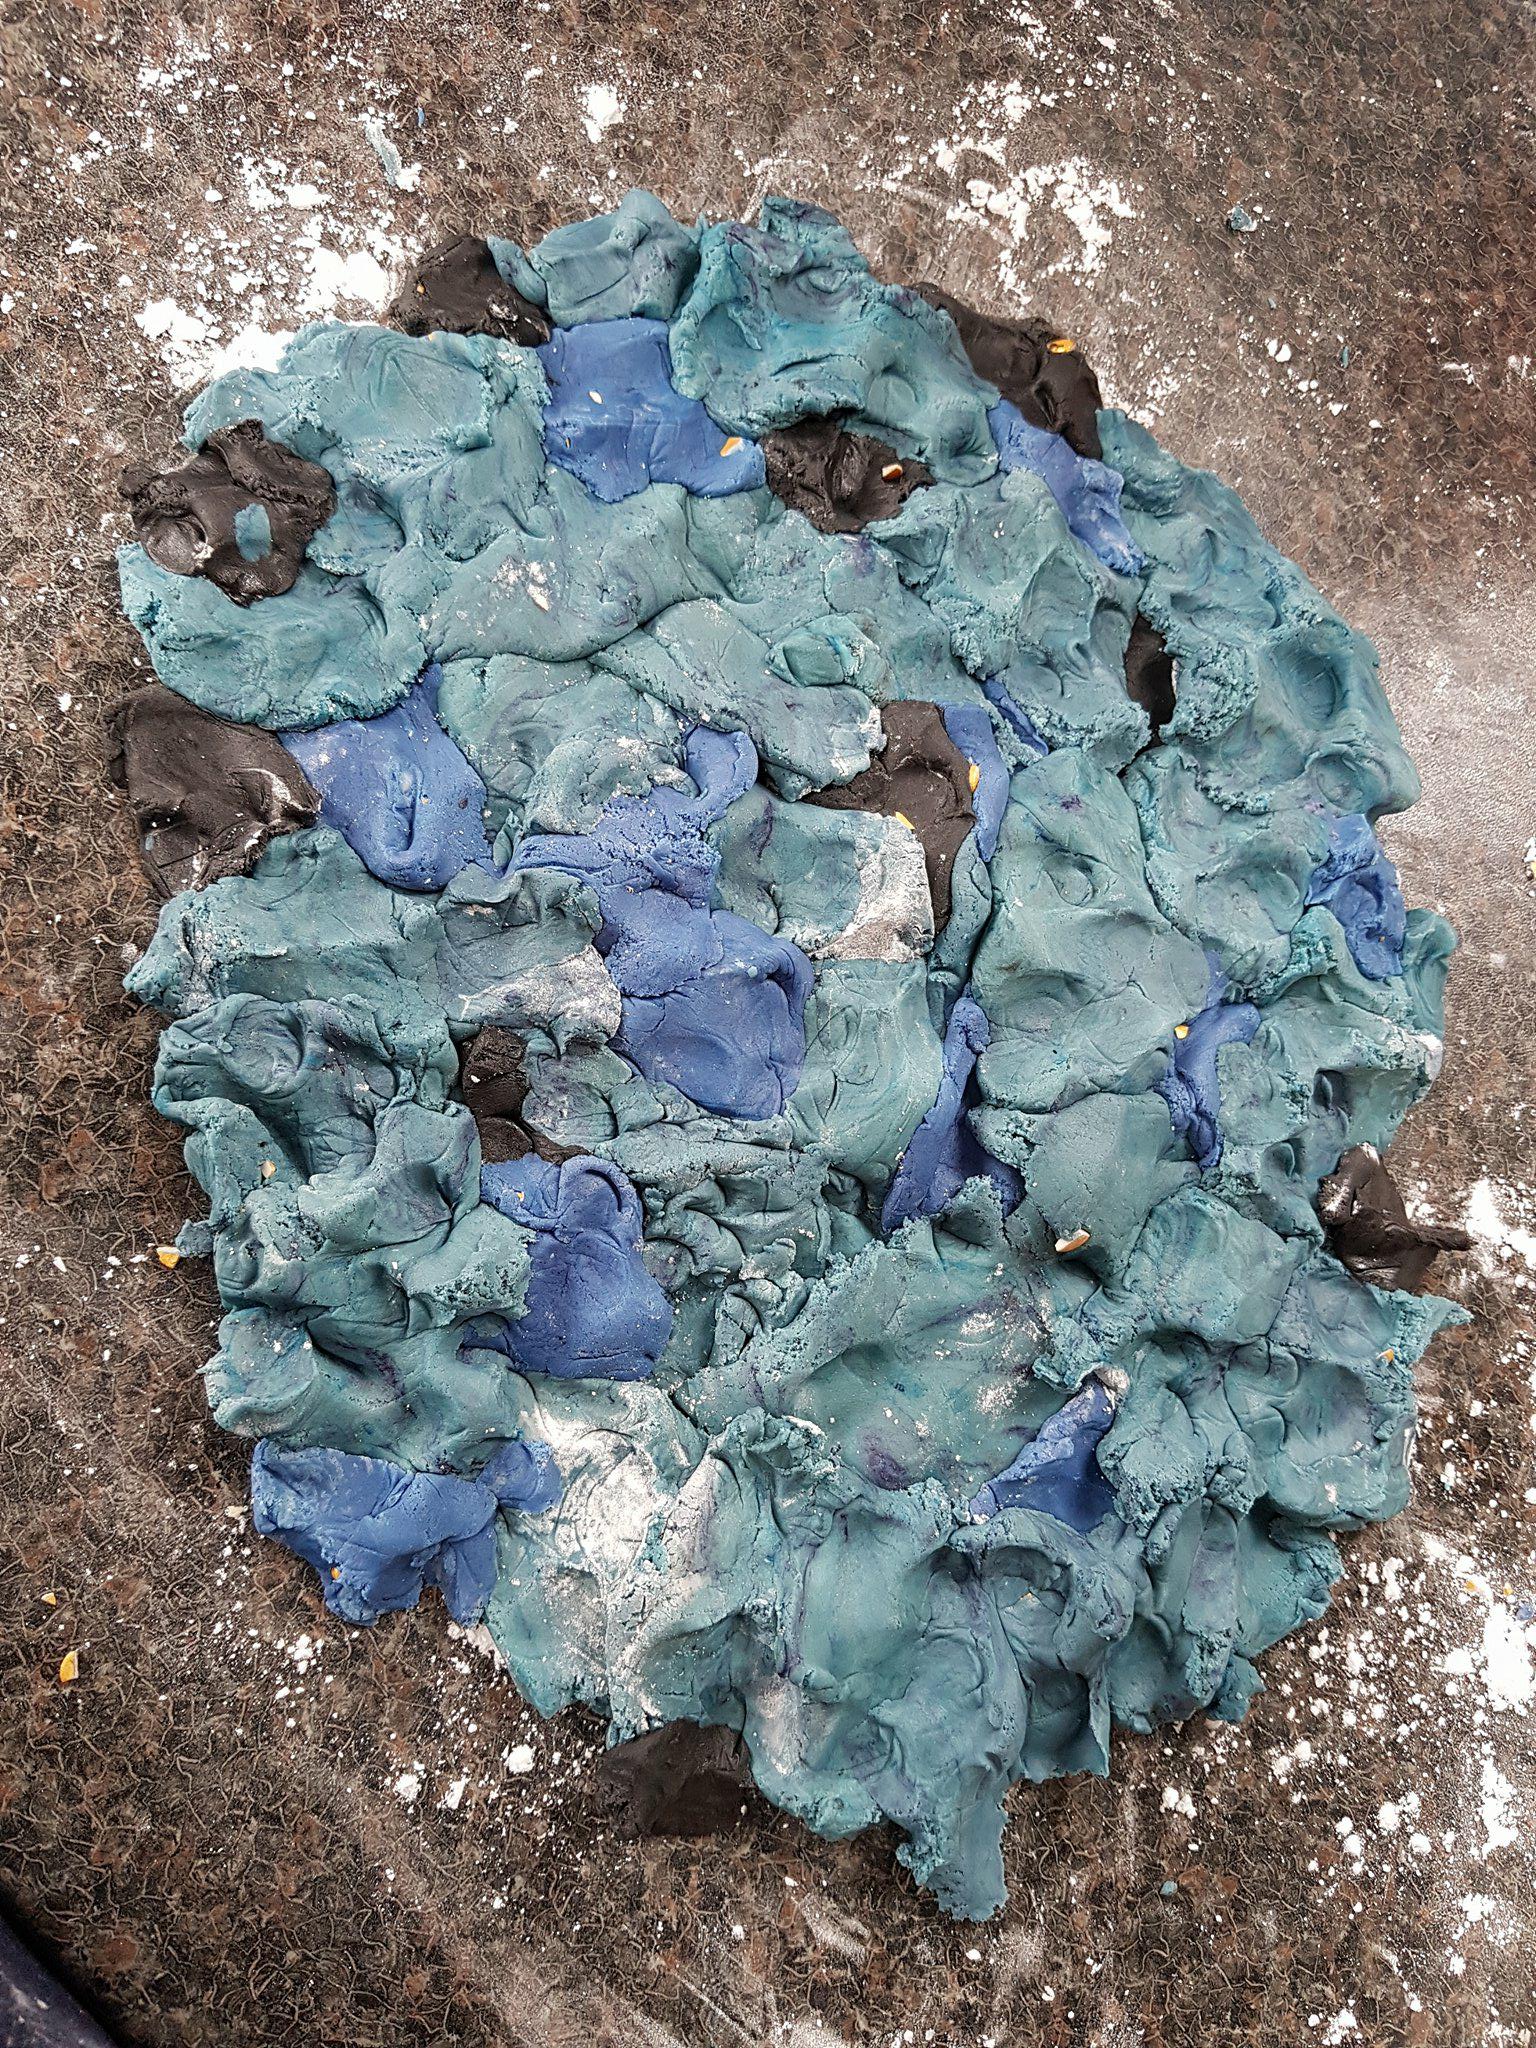
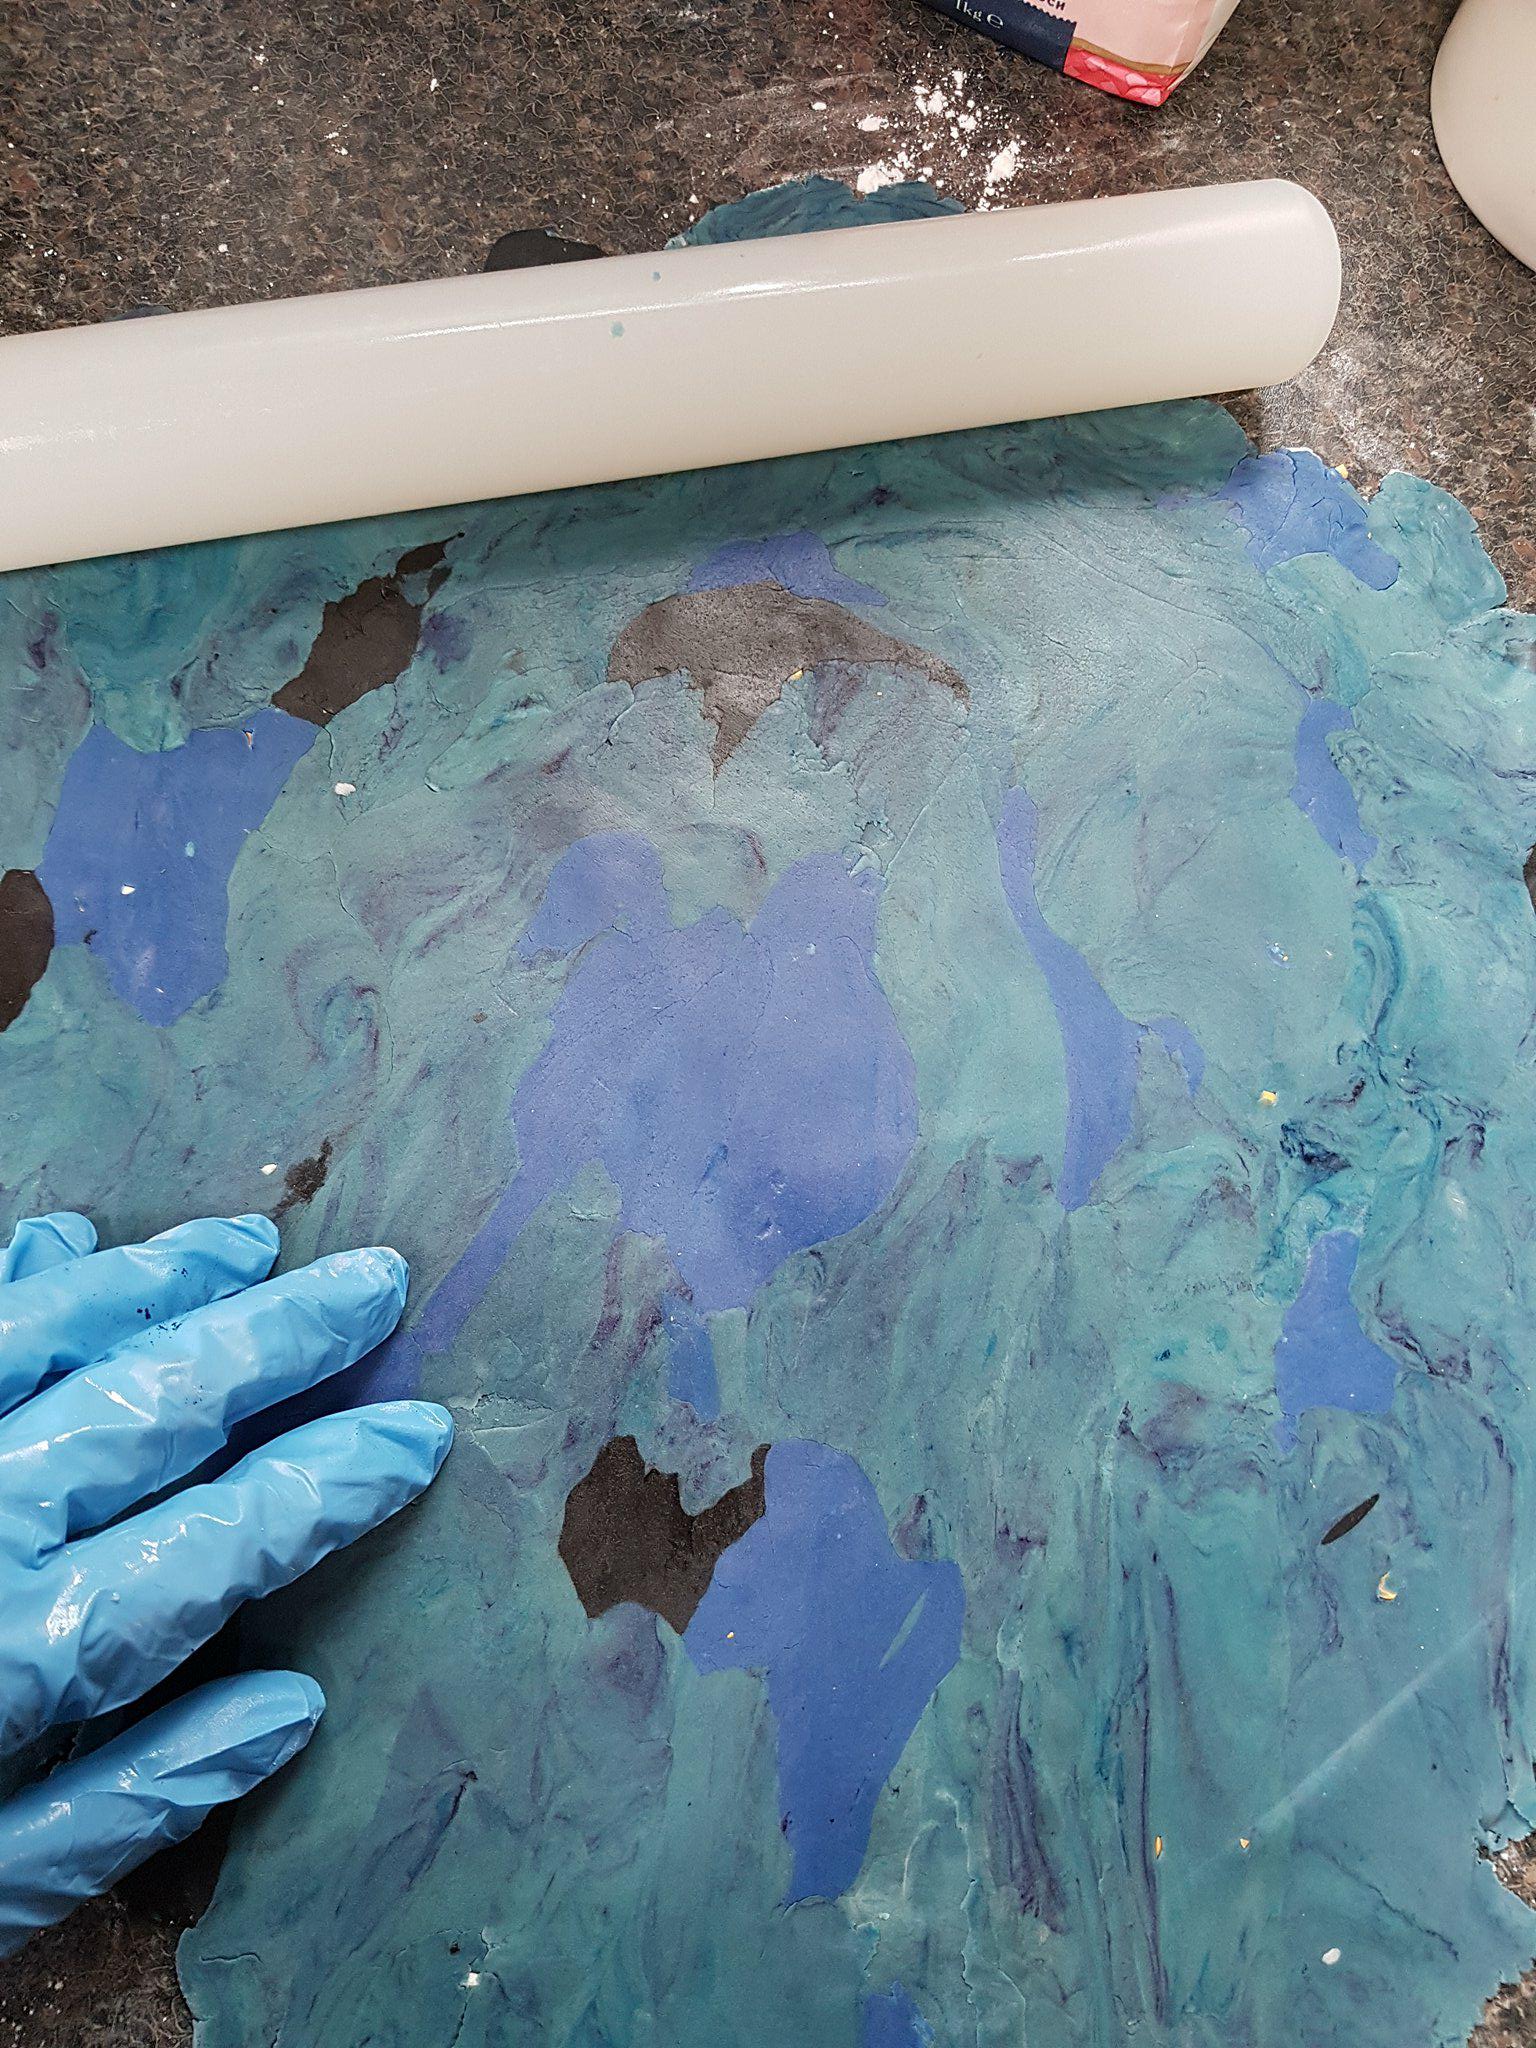
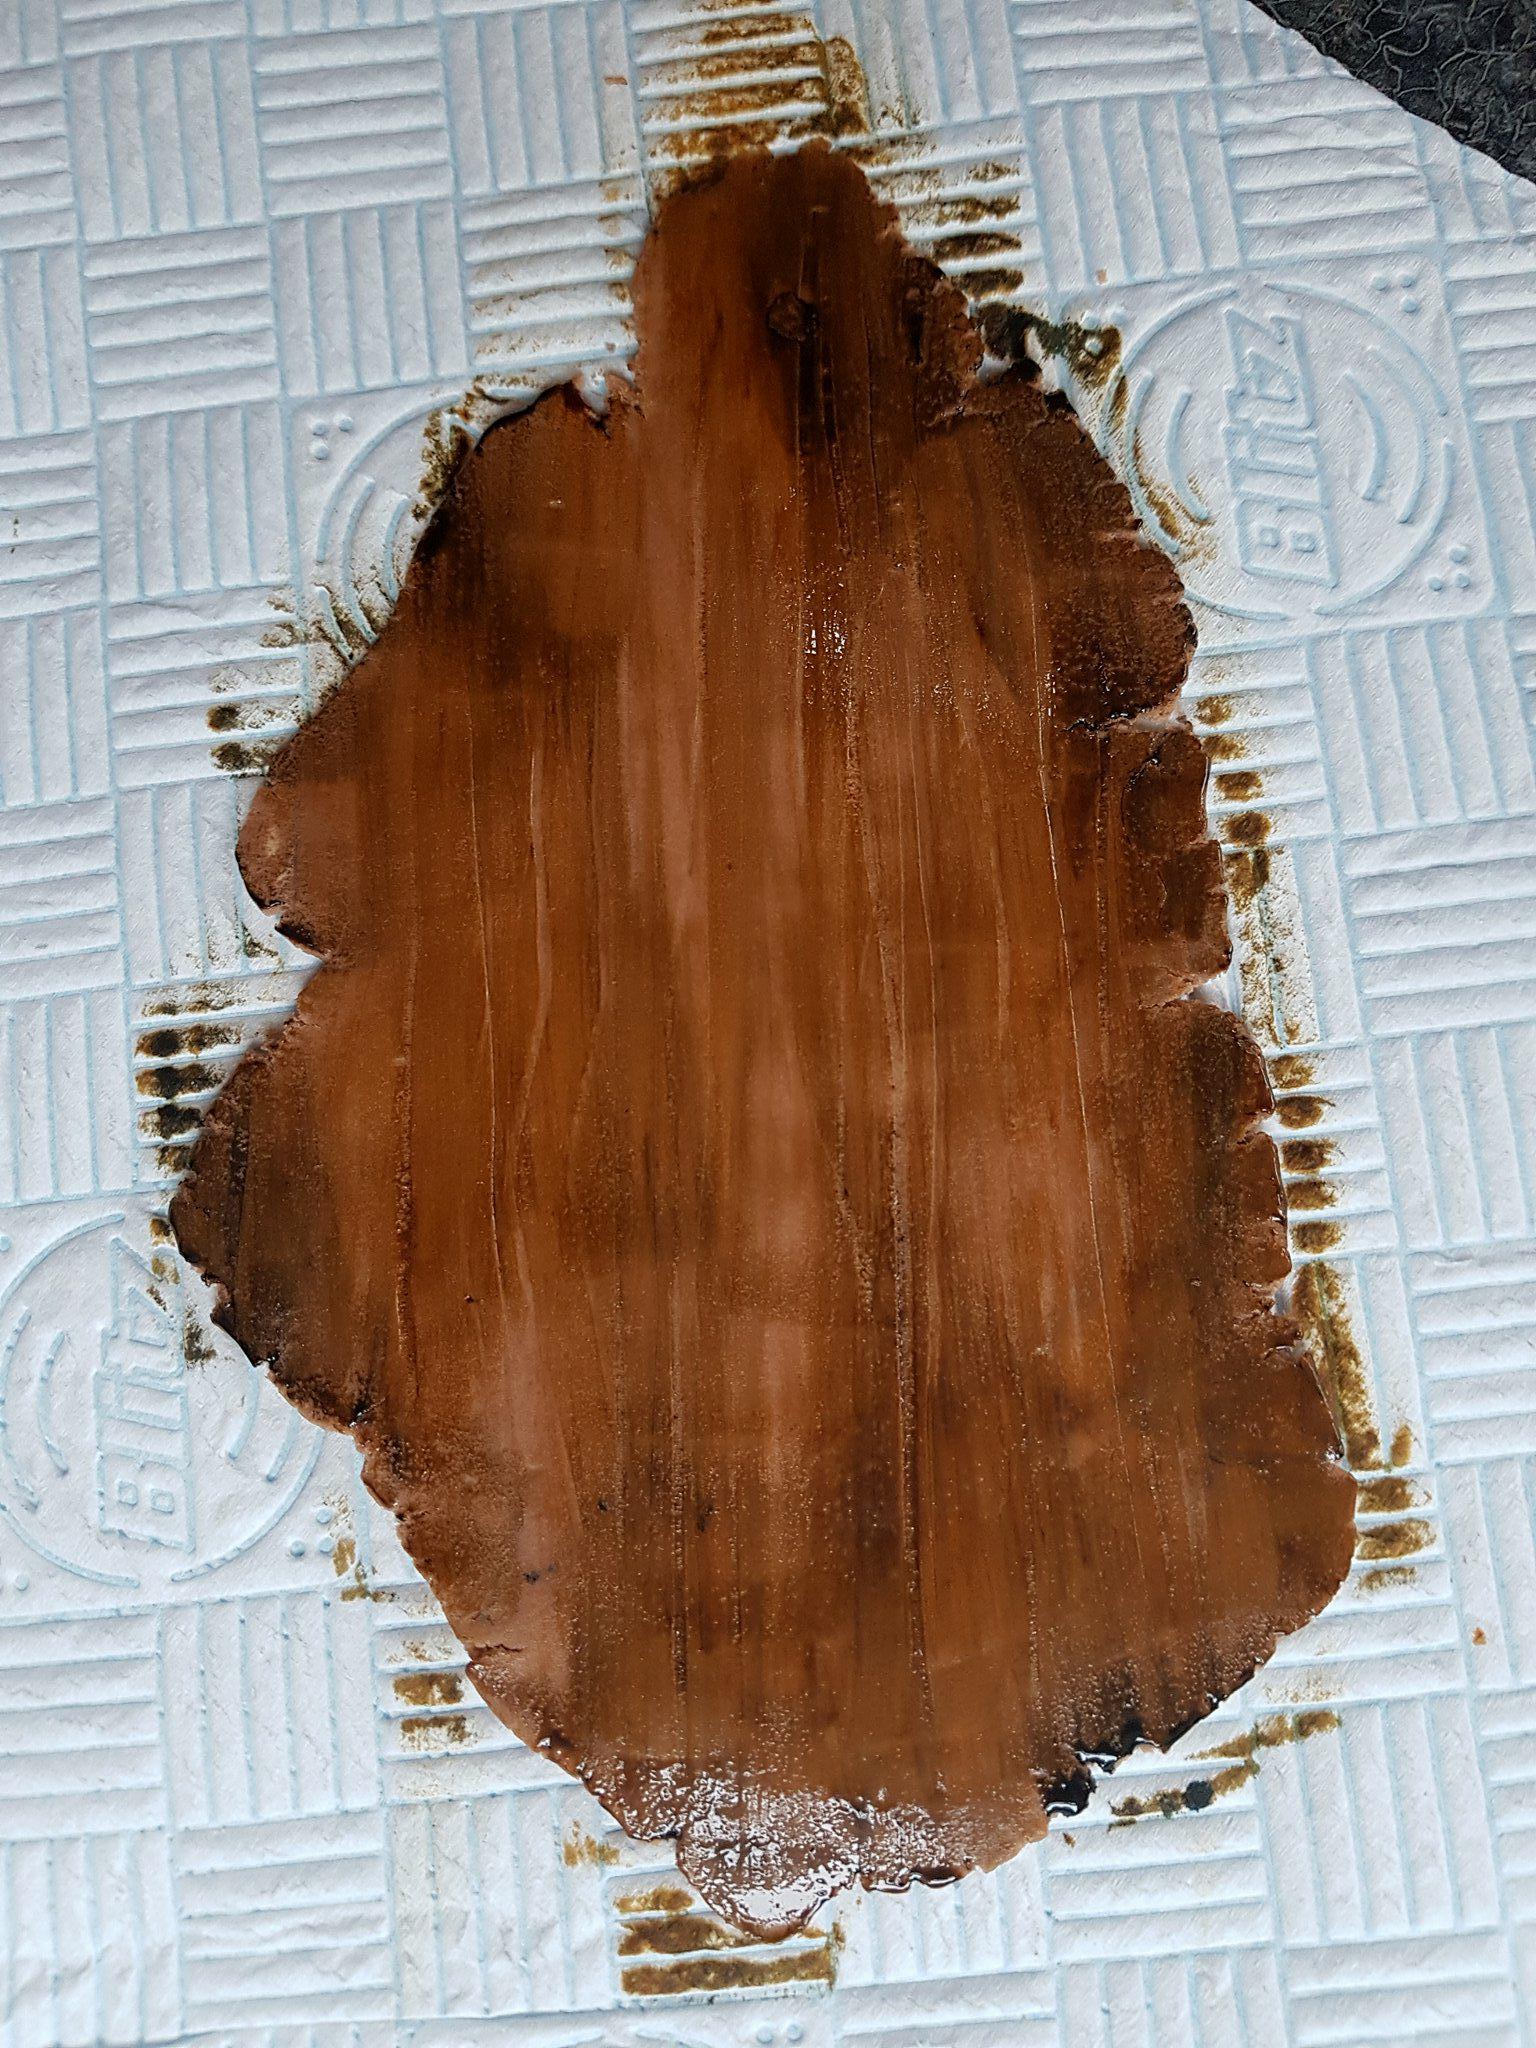
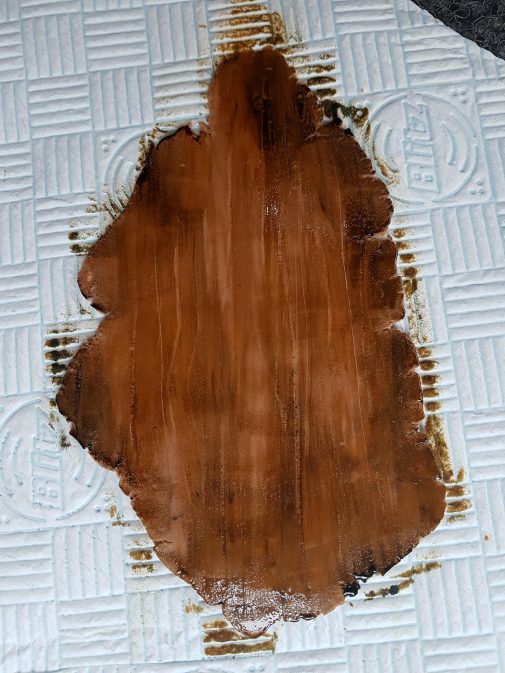
For the base I mixed 3 colors to achieve what I wanted, the splashed with icing sugar to give the water spray effect after I rolled it over the 8” sponges. I now have a base. Very rarely touched by baby so you can use a dummy cake and I sometimes do this based on the time I have.
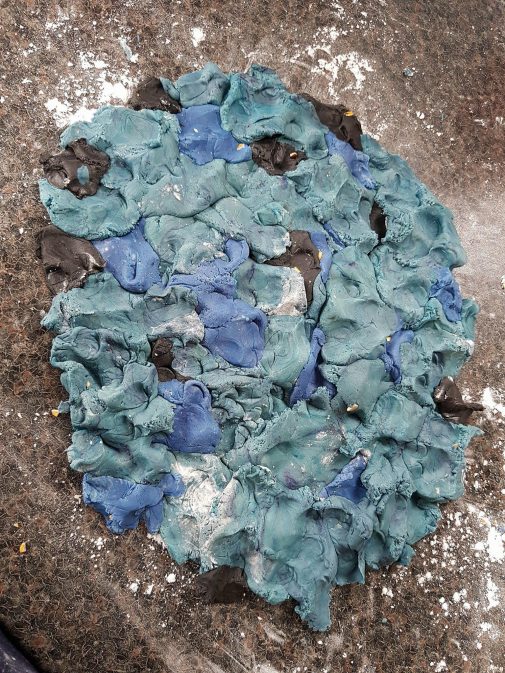

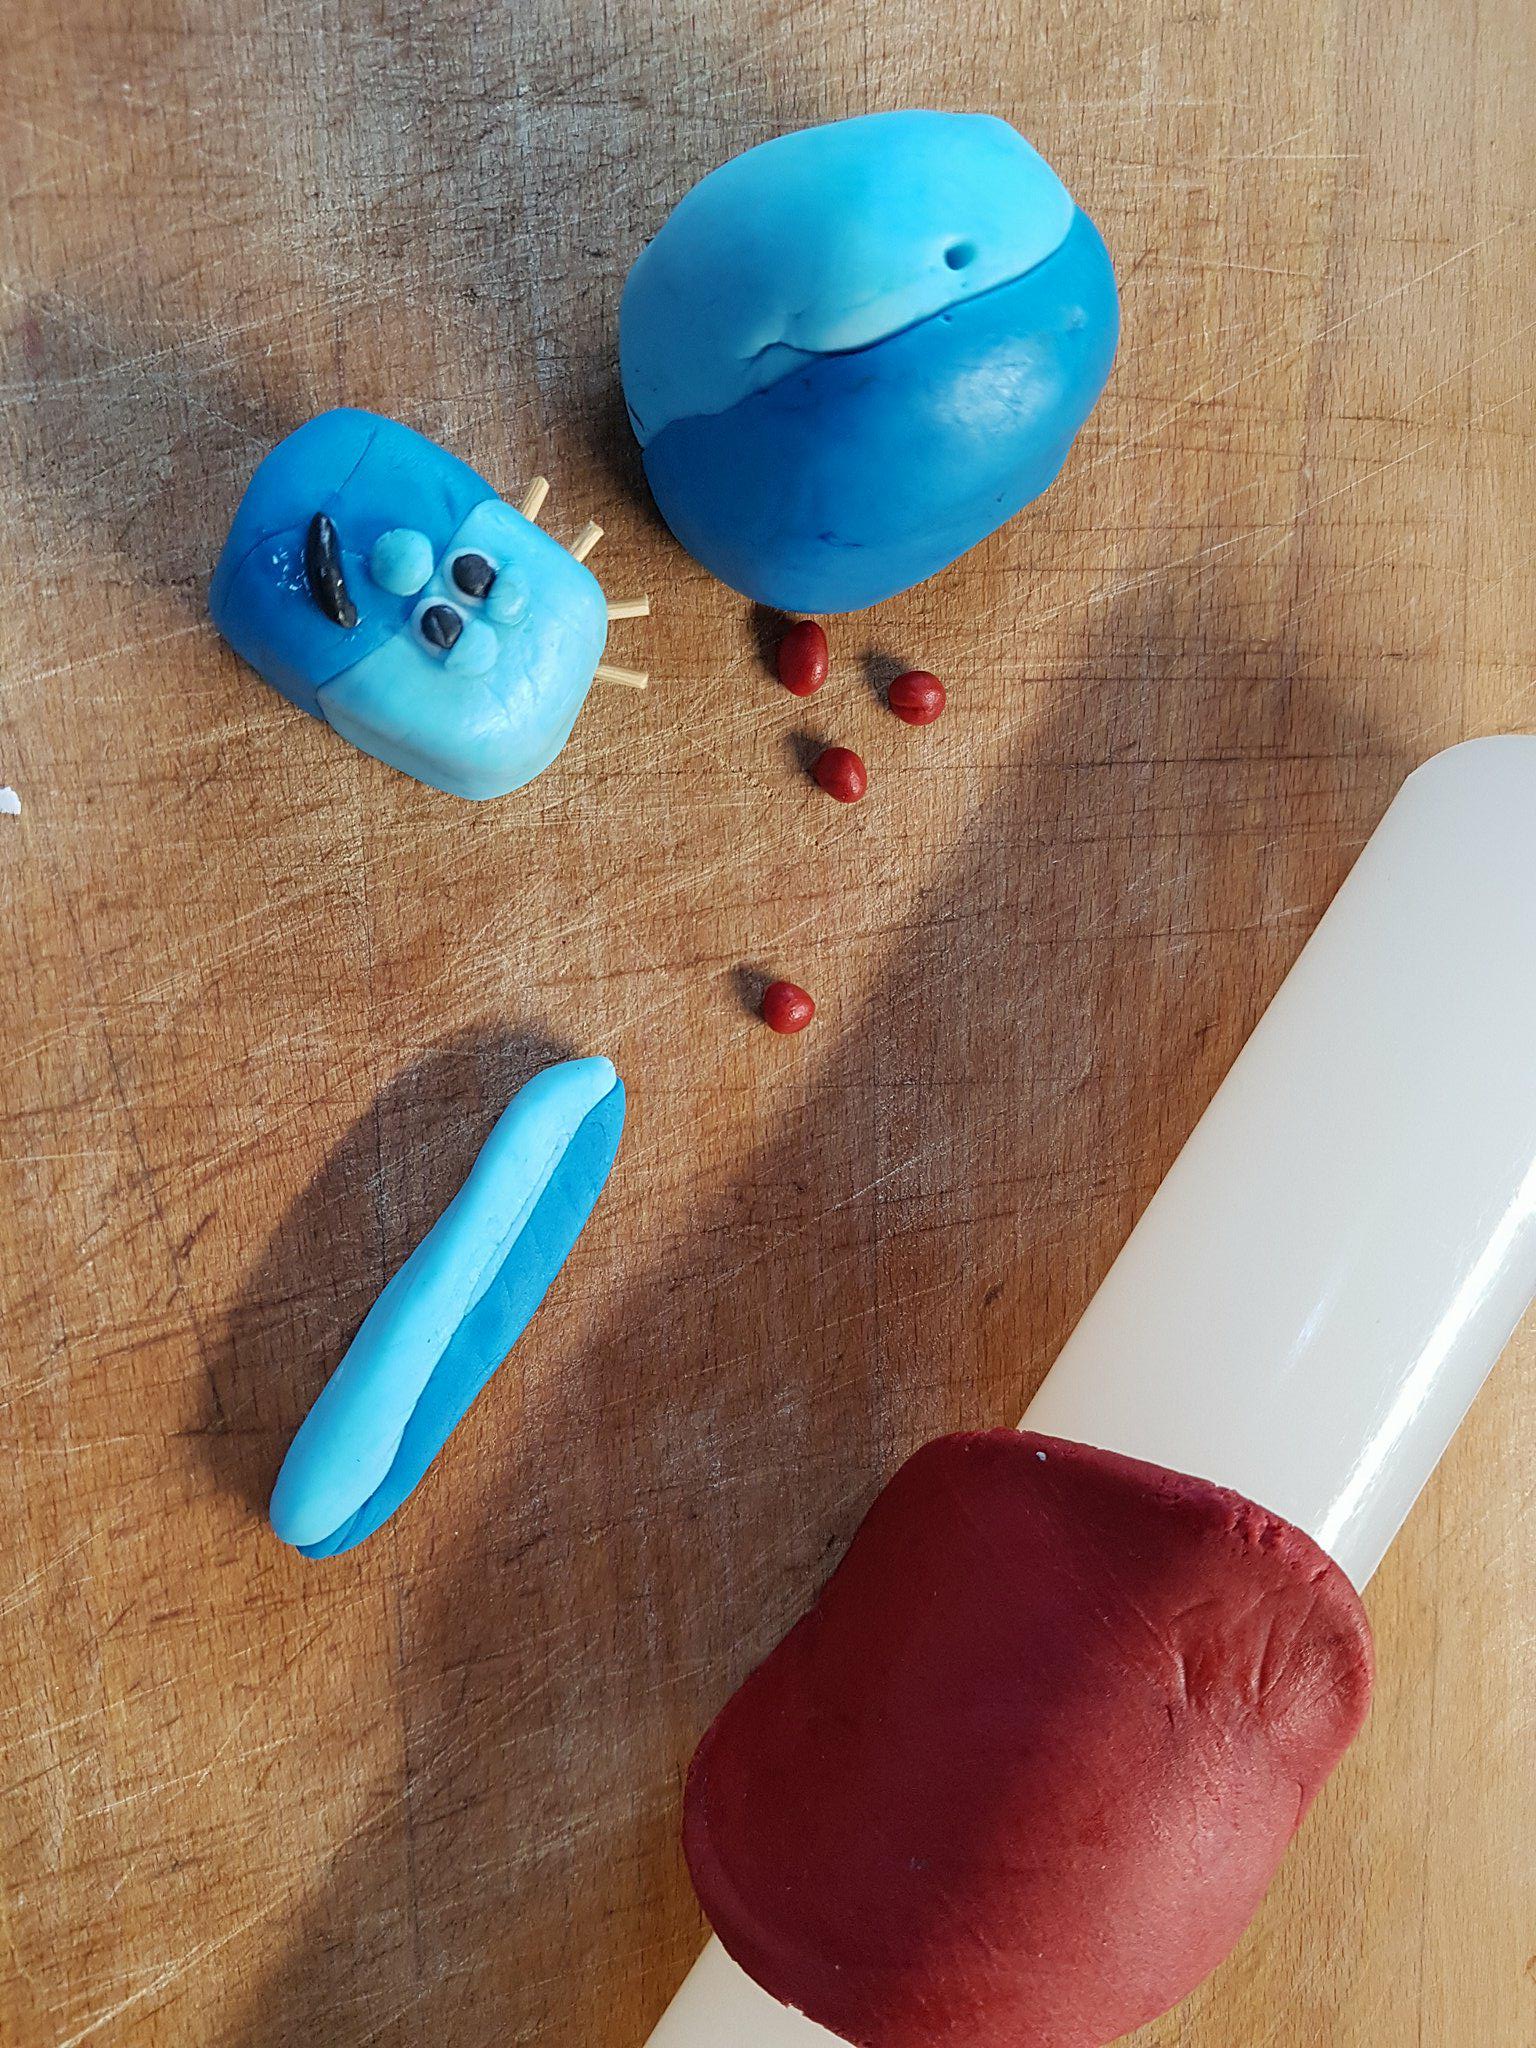
Then I layered navy icing over the middle to create waves for the boat to sit on. This is easily achieved and rather quick to do. Then I made Iggle Piggle, achieved by attaching a light blue and darker blue icing, just molding with your hands. A bit fliddly but looks great when done. Use cocktail sticks for the red bits but don’t let baby go for this.
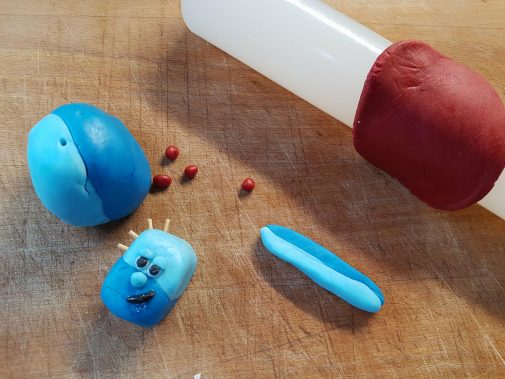
Next I made the boat with rice Krispies and melted chocolate that I molded into a boat shape and let sit in fridge. While this set I made the wood planks.
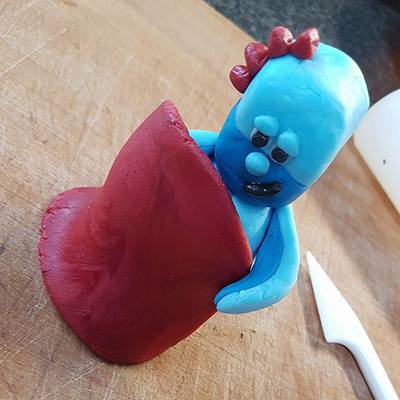
After I assembled the boat and added the character, all I had to do was place the character in the boat and add the little yellow light which is just icing. Done!!
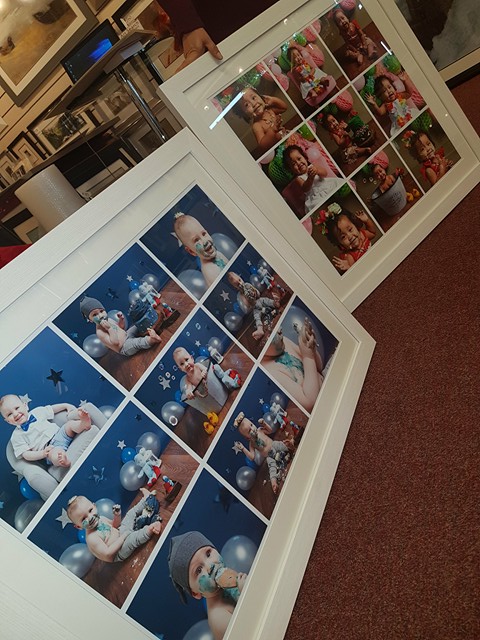
This took a few hours but was so worth it when parents seen it. This is why I charge a session fee as so much work and time has already went into the shoot before I even lift the camera to take a picture. This is why the prints and products are separate. The following day I will take portraits of baby before, during smash and then finish in the bath. I then clean up the studio, which can be messy. I then upload the pictures and begin to edit them down to show parents. Parents usually go for a large frame as it best shows off the 9 photographs included. This is the missing piece of the story. I get more excited seeing the images framed than I do about anything else. It’s an amazing investment for your home and they just keep getting better. Finally I will blog on social media, announcing the babies birthday for friends and family.
Hope you enjoyed reading and promise will try to blog more behind the scenes throughout the year as everyone loves a nosey, Carrie xo
-